I started by making a pattern. These soles are for Nefera, so I had to start from scratch.

Previously, I have made the back of the heel curved, but this time, I decided to try angles.

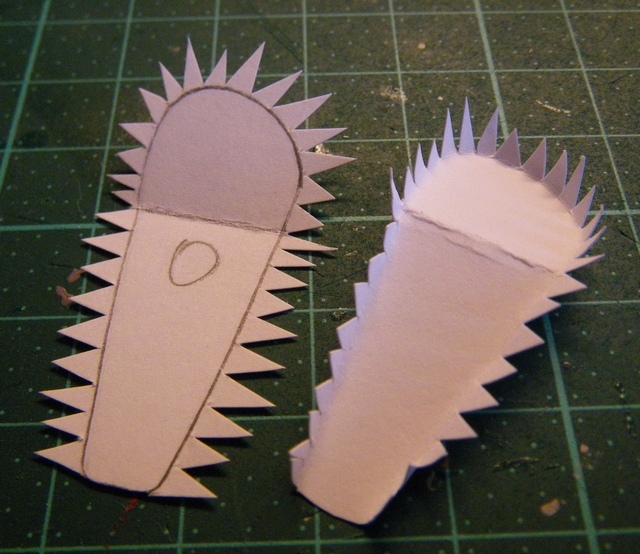
When using metal, the insoles are attached with adhesive tape, but as these molds will go into the oven, plastic isn't an option. So, I cut flaps all around the insoles, except at the back, where there needs to be a hole in the mold. The flaps need to be narrow, so the curves will come out nicely.
The next picture shows how to glue the insoles in place. This can be a bit messy with glue spreading all over your finger tips, but fortunately, only the inside of the mold needs to stay neat.

Then it was time to test that the arch of the foot is correct. The additional piece of cardboard on the side of the mold is there to fix a small hole (that particular angle is a bit tricky and if you're not careful, there will be a hole there). Note the hole on top, behind the doll's heel. That hole is there to help you see when the mold is full. When pressing the clay into the mold, only stop when it starts coming out of that hole. Remove any excess before baking the soles.

Here are the molds filled with polymer clay and ready for baking. At this stage, you should check that the bottom is even and that the soles do not lean left or right. Check also that the insole does not bulge. It is easier to fix that at this stage, but you can fix it also after baking, just use a craft knife and cut off any excess.

Finished heels after baking.


No comments:
Post a Comment